There’s a lot out there about overall event design. You can use AI, Pinterest, and all kinds of inspiration to design a room, screens, lighting, and everything that goes into how a show looks. This blog post is focused specifically on the stage beneath your presenters feet. Not the whole overall front elevation view of a room, the literal stage itself.
We have a few opinions here, along with some practical tips, tricks, and do’s and don’ts.
We’re going to walk through this in a good, better, best format.
It’s easy when you have a large budget to build a really impressive stage. You can go watch the Grammys, the CMA Awards, or tours like The Eras Tour and see special stages with full-motion elevated entrances and massive custom builds. That’s not what we’re talking about.
We’re writing this from our bread and butter: general session ballrooms for around 1000 people. These are events with solid budgets, but not unlimited budgets. Rooms that need to look nice, but not too nice.
At the core of this, we believe creativity is born out of constraint. Every event can make smarter choices with what they have available.
Good: Working with In-House Stage Decks
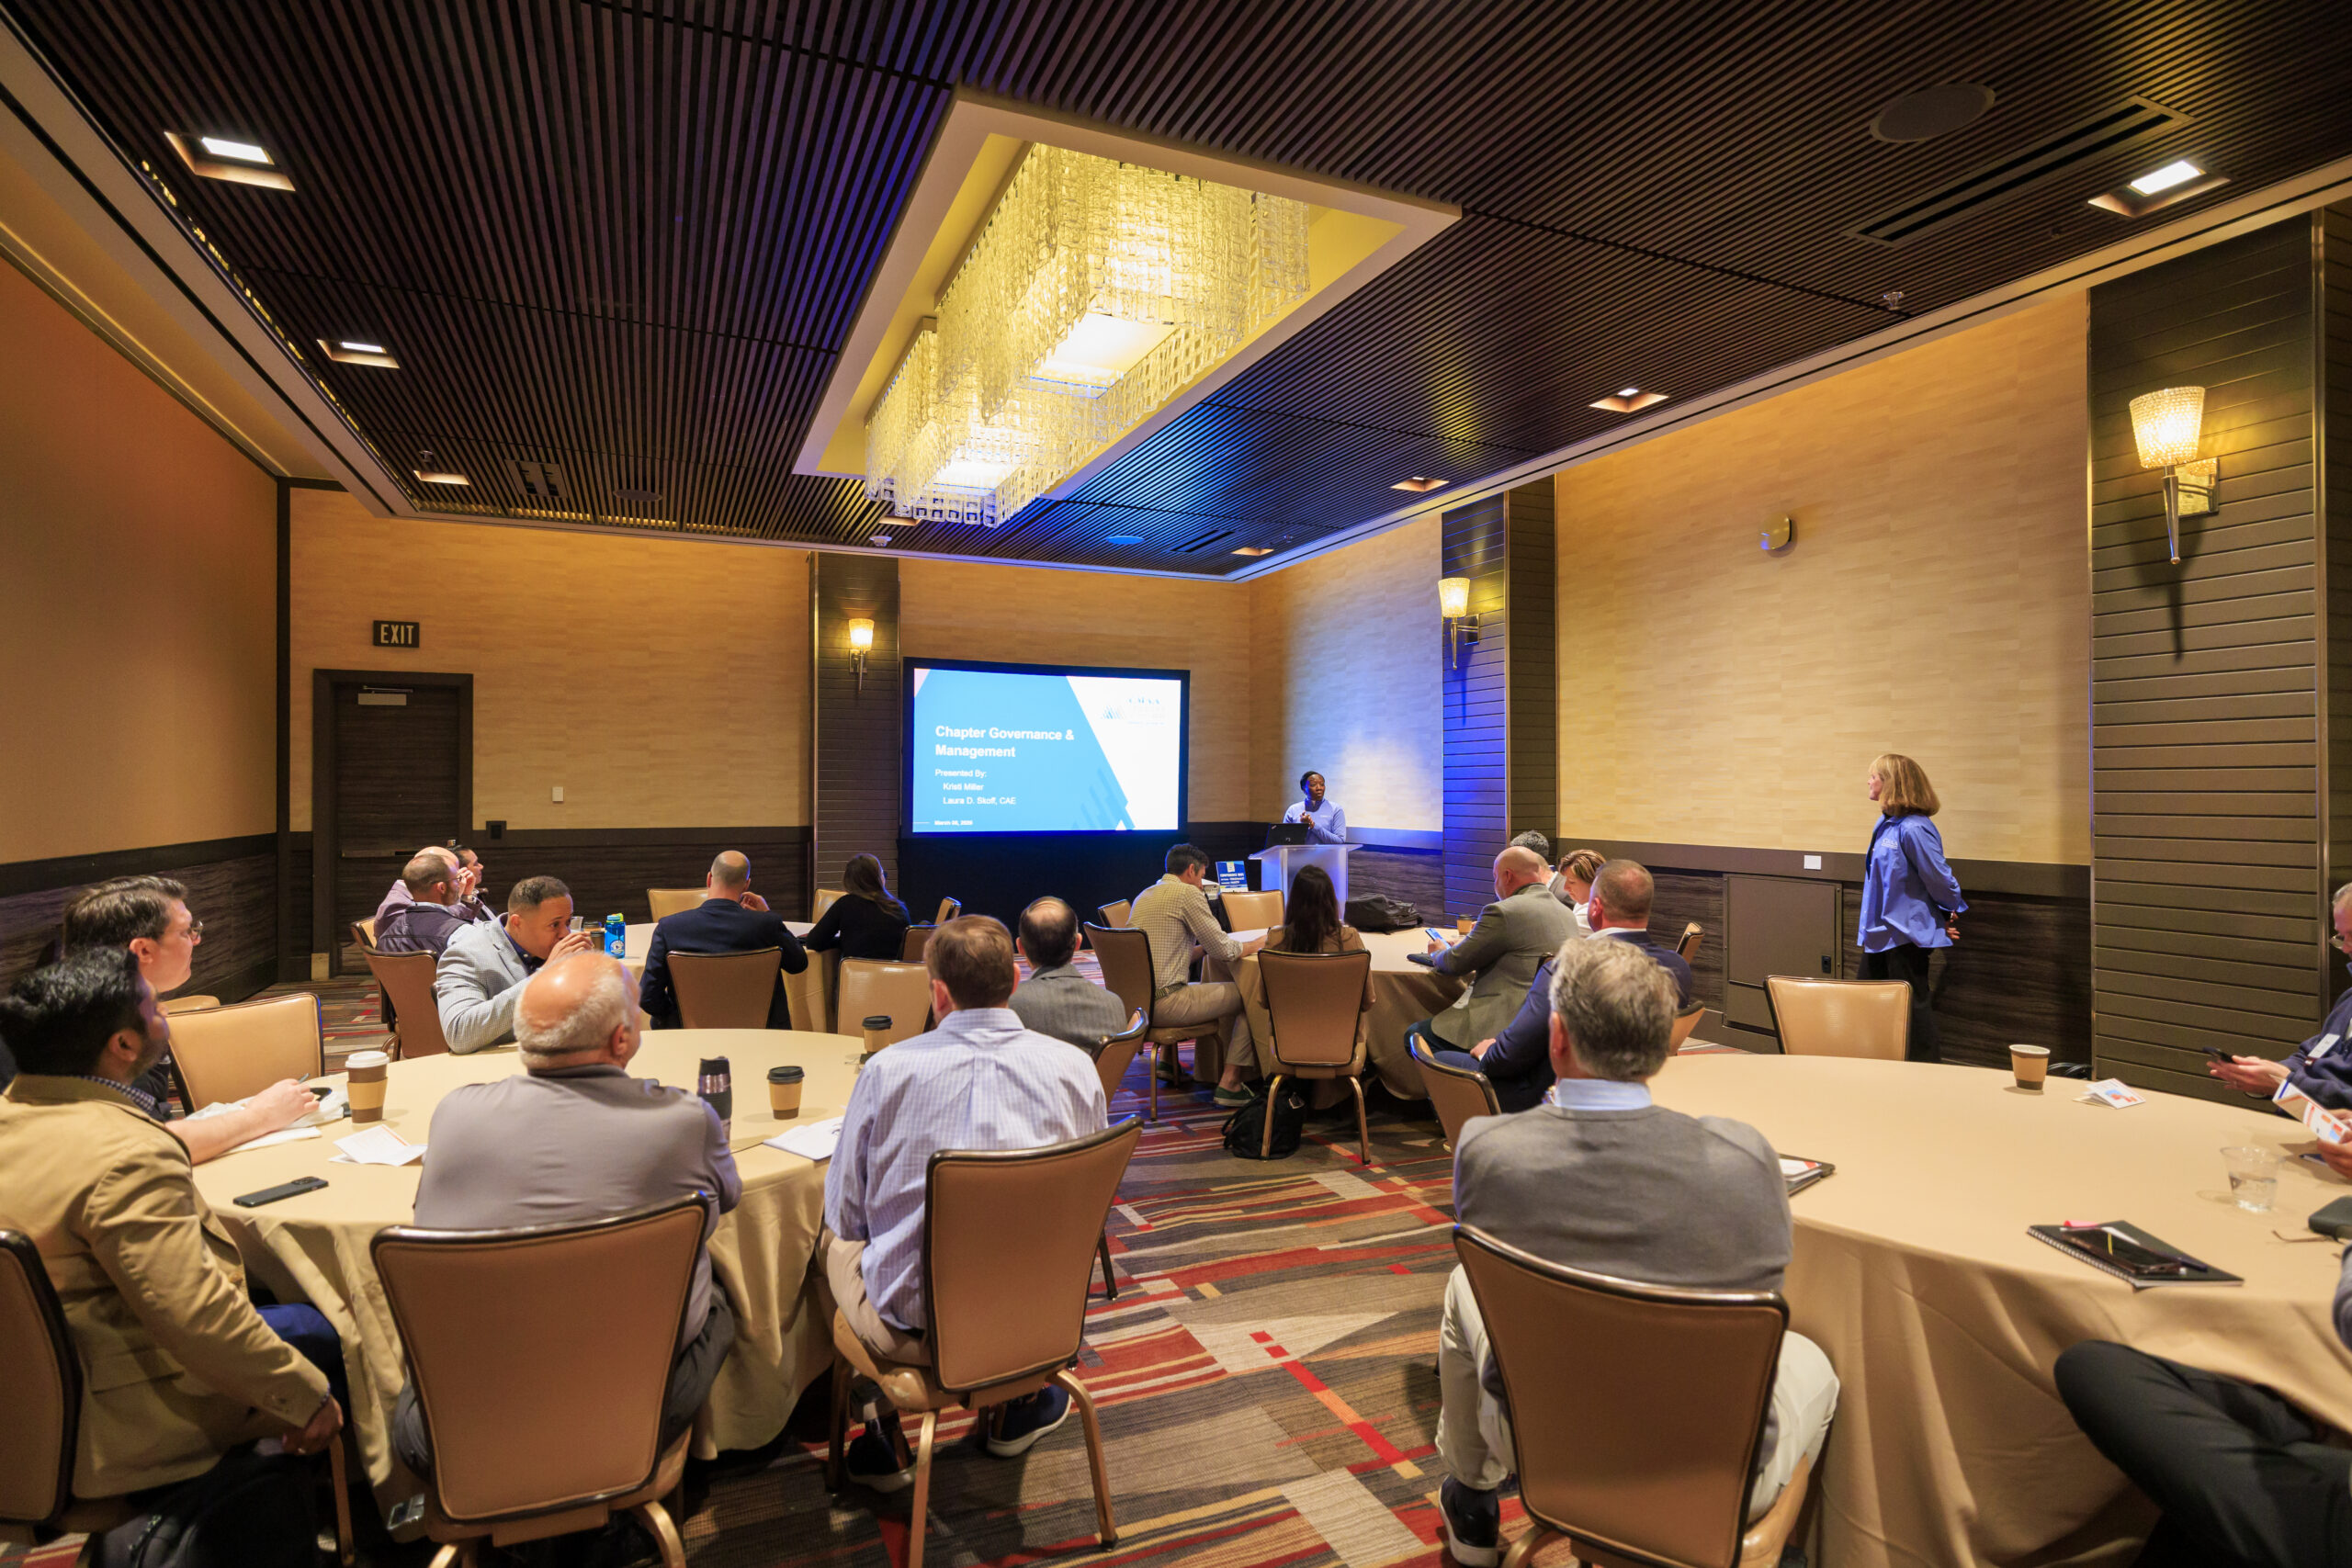
Let’s start with in-house stages decks at most typical properties.
Most in-house stages at venues are best suited for breakouts, but sometimes the budget requires using them for general sessions. Some clients don’t love them because they can creak, they’re not always perfectly level, and they come with limited options. But when you have to use them, there’s still a lot you can do.
Most in-house stages are built from 6-foot by 8-foot decks and are typically 2 feet tall, with height adjustments in 8-inch increments. That also aligns with the standard stair height.
Some venues offer 4×8 decks, which allow you to build in 4-foot increments instead of 6-foot. That gives you more granular control and better proportions without making large jumps in size.
There are also limitations you simply have to work with:
- One skirt option, usually a traditional ruffled look
- Standard stairs with handrails
- Built-in carpet with metal trim, creating a checkerboard appearance
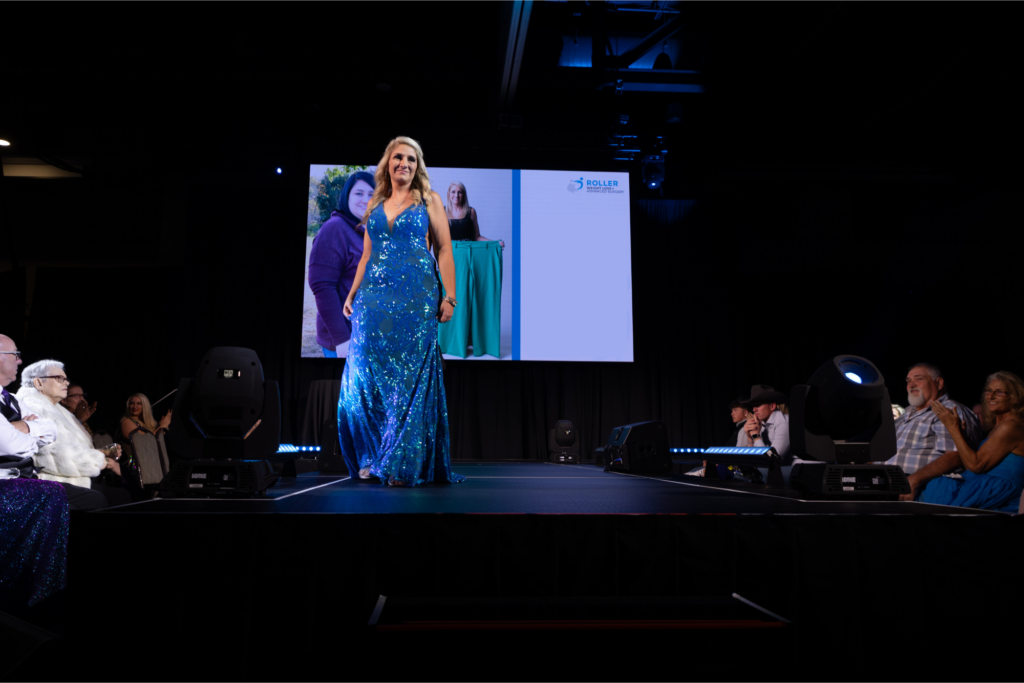
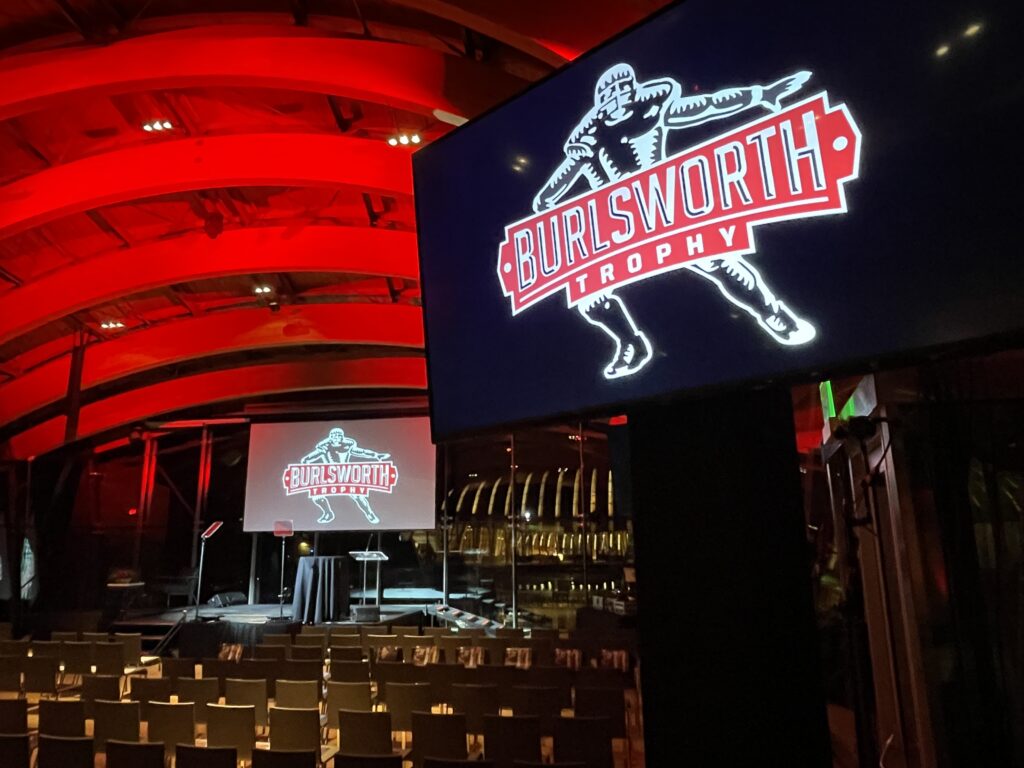
So what can you do with what you have? The first move is to introduce a thrust.
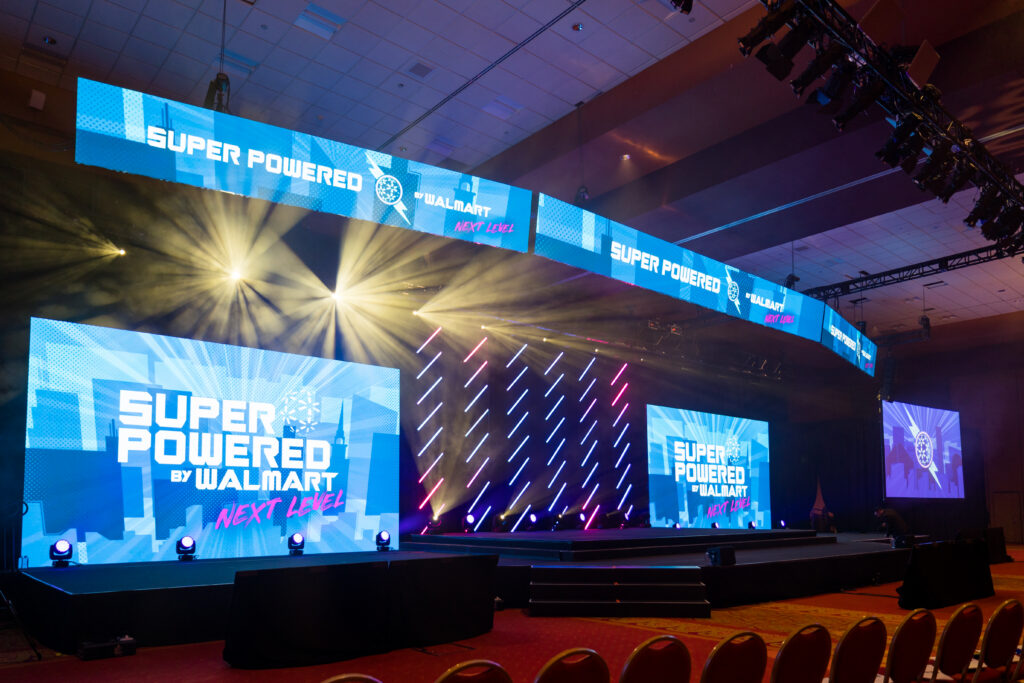
Photo by Iron Lotus Creative / Stephen Ironside
A thrust extends part of the stage forward into the audience. This allows you to separate content. Keynotes and panels can live on the main stage, while housekeeping, games, or quick transitions can happen on the thrust. It creates variety without adding cost.
Next, consider multi-level staging.

Raising the upstage area slightly, especially if you’re placing scenic elements like an LED wall or backdrop, and keeping the downstage lower adds depth. It makes the stage feel more intentional.
You can also use secondary stages.
We’ve placed bands on a B-stage to the side or create a second area for quick interviews or fireside chats while the main stage resets. It keeps the energy moving and makes better use of the space.
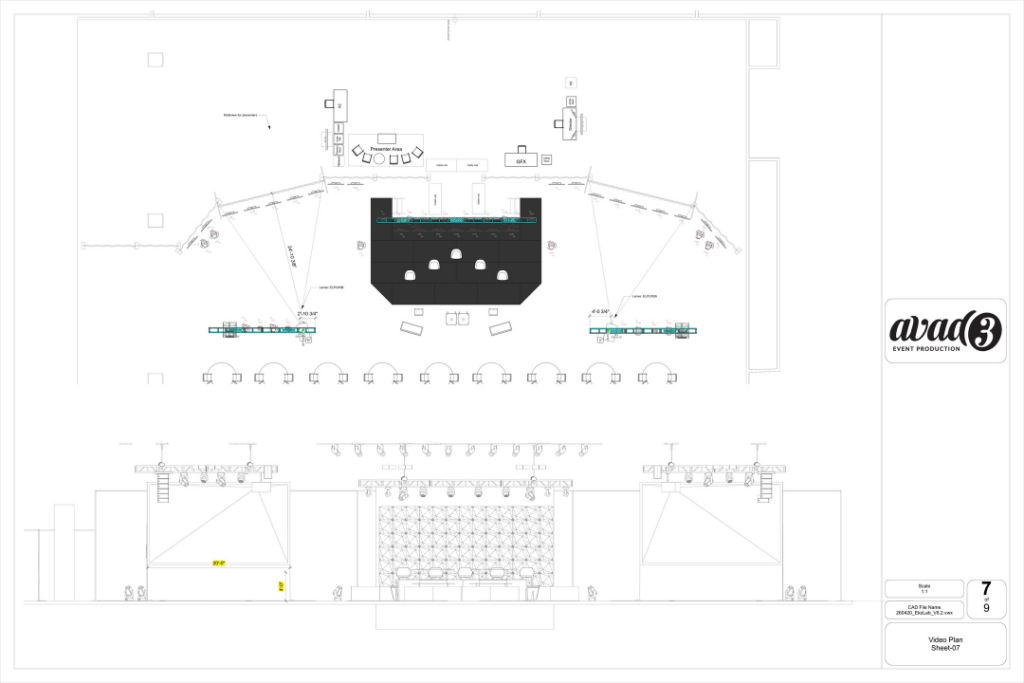
One of our favorite ways to work within those constraints is the diamond layout.
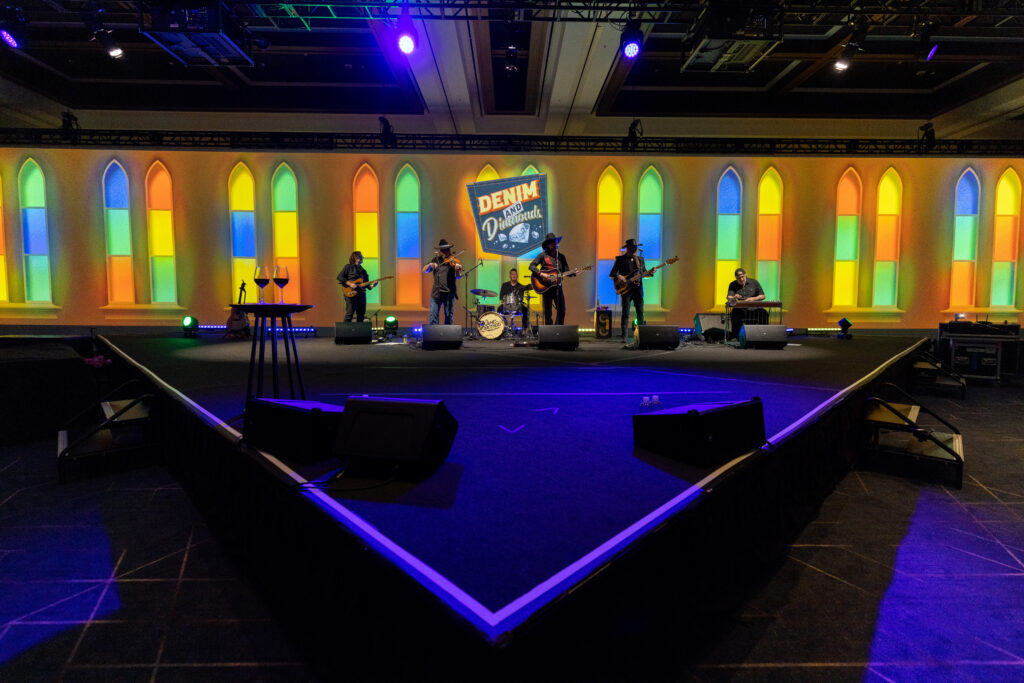
Build a square stage and rotate it 45 degrees. This creates a natural thrust point and gives you more usable width across the center. It’s a simple move that makes the stage feel more custom. When working with 6×8 decks, your typical square stage ends up being 24 feet by 24 feet, and in larger rooms, you may jump to 48 feet by 48 feet. Those increments limit flexibility.
Finally, at this level, we almost always recommend using the in-house stage for your front-of-house tech position. We as the crew don’t mind if it creaks. We don’t mind if there’s metal trim under our chairs or if it doesn’t look great. That’s not where the focus should be. We’re there to serve from behind the scenes, and the in-house stage works just fine for that.
Better: Standard Production Staging
The next step up is bringing in professional staging from a production company.
These are typically 4×8 decks. At avad3 Event Production, we carry multiple sizes and shapes, along with a wide range of heights, everything from 8 inches up to 54 inches. We also own 4×4 decks and 4-foot right-angle triangle stage decks, which allow us to build more interesting and intentionally creative shapes.
This is where things start to open up. You can create cleaner edges, better proportions, and more dynamic layouts. The triangle pieces allow for shaped thrusts, angled edges, and more thoughtful transitions.
You also get better stairs and access options. We have wider stairs, removable handrails, and shallower step heights, closer to 4 inches instead of 8. That’s especially important for sports mascot characters or at places like Disney World properties, or any talent in costumes with specialty footwear where standard stairs don’t work well.
You can also incorporate ramps. These are critical not just for planned accessibility, like keynote speakers who are wounded Veterans or Paralympians, but also for unexpected situations. We’ve had real instances where an executive had a mountain bike accident just days before an event and needed crutches. Having a ramp in place makes those situations manageable for transitions of getting folks on, and off, the stage smoothly.
Another major upgrade at this level is the stage finish. Instead of exposed seams and metal trim, the entire stage is covered. That can include:
- Full carpet coverage with 12-foot-wide loomed carpet that we bring on our truck and roll out edge to edge
- Gloss black marlite or marley flooring for special performances like dance moments
This eliminates the checkerboard look and makes the stage feel like one cohesive piece.
You also get more control over skirting and edge treatment.
Instead of a traditional ruffled skirt, we use a flat skirt for a cleaner, more modern look. We can also introduce alternative materials like frosted plexiglass for more visual interest.
Best: Custom Stages
You can combine standard decks with custom plug pieces, using standard structure while adding custom elements to shape the final look.
At the highest level, you’re no longer assembling a stage from pieces, you’re designing one from a blank slate. Custom stages allow you to create something that fits the event, rather than forcing the event into standard dimensions.
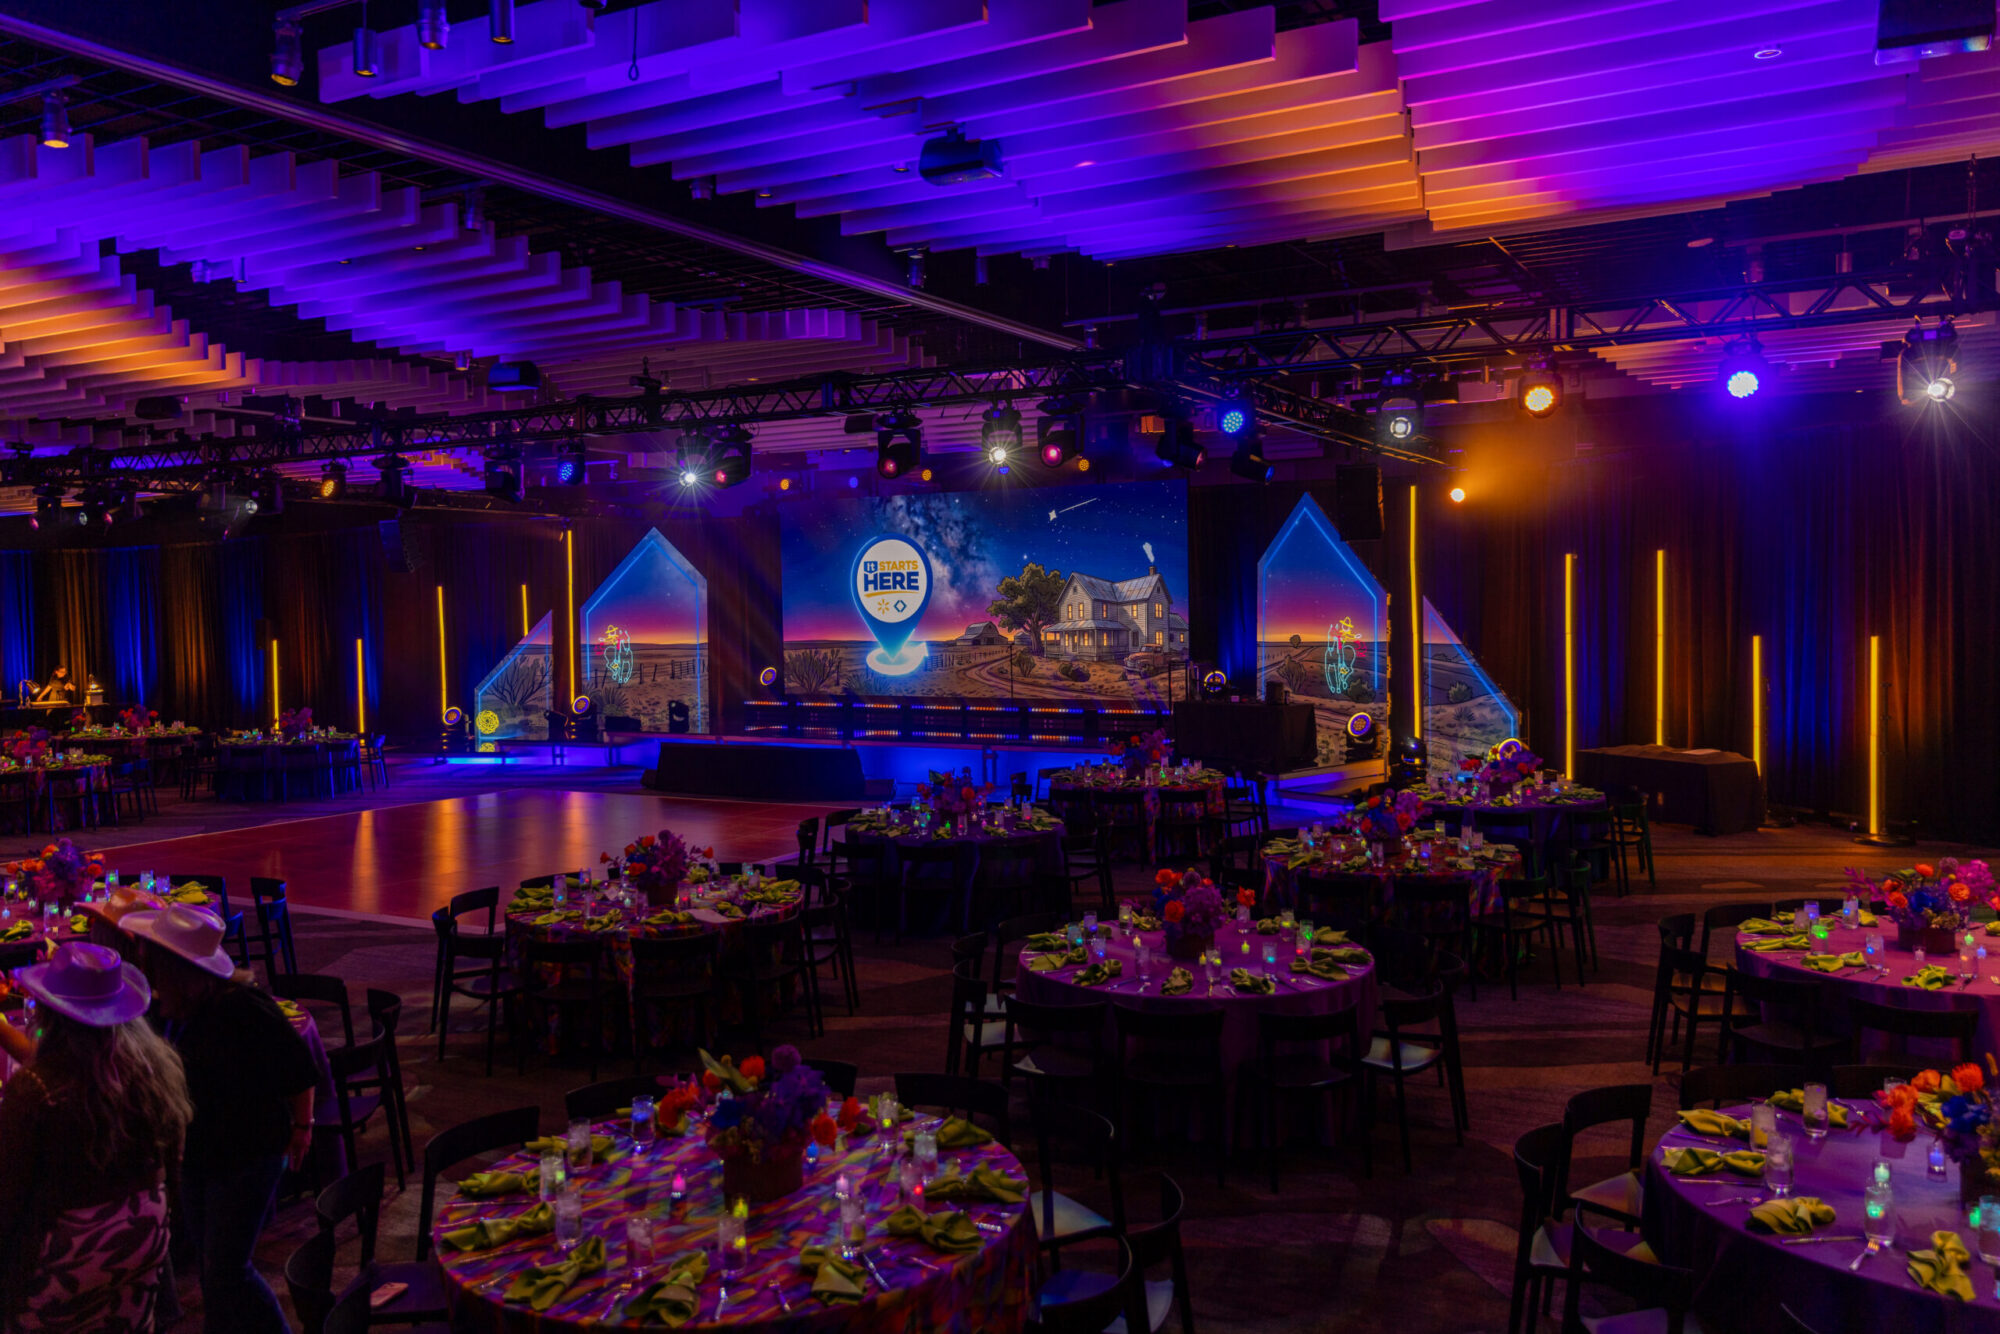
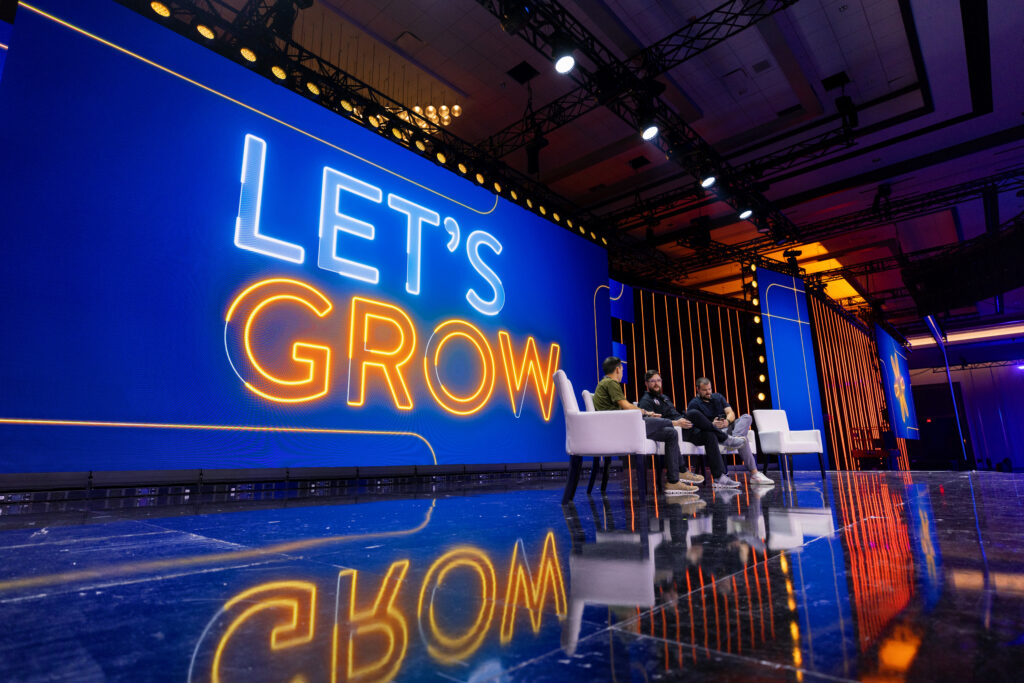
 Photo by Iron Lotus Creative / Wesley Hitt
One of our favorites was this round stage we did with integrated stairs, which created a completely different feel than a traditional rectangular layout. At this level, you can incorporate:
- Rotating or moving stage elements
- Built-in trim like lighting features
- Unique shapes that guide movement and attention
You can also build stages that are structurally capable of supporting much heavier loads, including stages strong enough to hold things as heavy as cars for those types of show demos.
These are capabilities you simply don’t have with in-house staging.
Final Thoughts
Hopefully that sparked some creativity and got your wheels turning as you read and looked at photos together with us from recent events!
That’s our overview of stages at a good, better, best level. There are a lot of ways to improve a stage without dramatically increasing your budget. It comes down to being intentional with layout, height, access, and finish.
We believe creativity is born out of constraint, and the stage is one of the clearest places to see that play out. Every event has the opportunity to make smarter choices with what’s available.
PS: If any of that terminology was new to you, there’s always something to learn from grabbing a copy of our Production Glossary. The events industry has so much jargon, and no one ever needs to feel excluded by not having the inside baseball, educate, empower, and join the conversation using the expanded vocabulary of this wild industry!